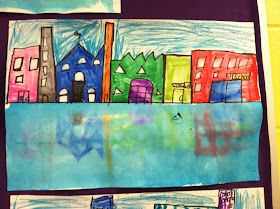
I love when a project or a technique makes my students gasp with surprise! This fun reflection project teaches some vocabulary along with a fun lesson in the magical world of washable markers. The second grade students first learned about the words cityscape and skyline. We looked at some art examples as well as some photographs of big cities. Then we created a skyline on our paper with permanent marker after folding it in half. We used colorful washable markers to color the buildings and windows, add signs, etc.
Then we did the "magic!" We brushed plain water on the bottom half of our paper, and while it was still wet, folded the paper back in half. When we opened the paper, we discovered that the marker from the buildings had created a reflection in the water, just like the cityscapes near water that we had looked at earlier! We then brushed blue watercolor over the reflections to help them look like water, and as a final touch, colored the sky with crayons. Beautiful!
Tuesday, March 4, 2014
My Favorite Art Supplies: Tempera Cakes!
 Today,
I'm showcasing one of my absolute favorite art supplies, tempera cakes!
If you've never used them in your art or class room, I encourage you to
try them out. They are pretty mess-free and easy to store, plus they
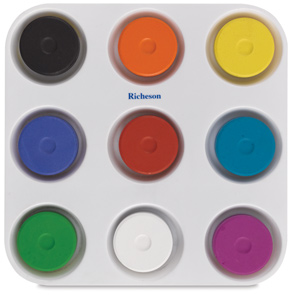
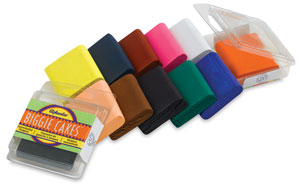
last much longer than liquid tempera. Here are two possibilities from BLICK art supplies. I have used both brands and have found that they both work well.
A tempera cake is basically dried out tempera paint that has been molded into a solid shape. They work like watercolor in that you use a wet brush applied to the paint to make the paint workable. Unlike watercolor, though, the colors can quickly go from transparent washes to bright opaque hues, and they are fun to mix and blend right on the cake itself. We use these anytime the kids need a variety of colors, when we want the brightness of tempera with the control of a watercolor.

I just love how bright the colors turn out, and the kids love that they look like cupcakes! Here the second grade students are painting some Picasso portraits.


